Web application guide
This page will provide you with information on how to access and use the UNSW Data Archive Web application.
This page contains the following elements:
- Preparing to use the Data Archive
- Should I use the Web application?
- System/setup requirements
- Navigating the Data Archive video
- Uploading data to the Data Archive
- Download data from the Data Archive
- Help and further information
Preparing to use the Data Archive
Before you start uploading your research data to the Data Archive, make sure it is organised and in alignment with UNSW recommendations and, that you know the level of access you have to the Collections inside the Data Archive. Read the Preparing data for upload and the RDMP and the Data Archive pages for more information.
To access the data archive you will need:
-
An active UNSW zID and zPass. To verify your zID/zPass visit the UNSW Identity management page.
-
Access to the UNSW Network, either on a UNSW campus or by using the UNSW VPN Service
-
An approved Research Data Management Plan (RDMP) (see the RDMP and Data Archive page for more information).
-
Research data identified and prepared for upload into the Data Archive.
-
Access levels appropriate to the tasks you wish to undertake within the Data Archive.
- If you are downloading data, you need to migrate that data online before you start the download, see our guide for how to do this.
Should I use the Web application?
The UNSW Data Archive Web application provides access to an interface enabling you to upload, download, locate, and review your research data. The Data Archive Web application is suitable for researchers who wish to search the Data Archive and to either upload or download less than 50 gigabytes (GB) of data and/or less then 1000 files (during a single session).
Researchers who frequently upload or download data, and/or generate datasets, may wish to schedule a regular upload or download of data using the Script or use SFTP rather than manually uploading and downloading data via the Web application.
- Researchers using the Web application and uploading or downloading more than 50 GB of data and/or more than 1000 files, at a time, may consider the benefits of compressing your dataset before uploading to the Data Archive or using SFTP.
- Researchers who upload or download more than 50 GB of data and/or more than 1000 files, at a time, please see the SFTP client guide.
- Researchers who wish to schedule a regular upload or download of data, please see the Command line Script guide.
System/setup requirements
To access the UNSW Data Archive Web application you will need:
- The latest version of the Chrome , Firefox or Edge browsers. Please note that Internet Explorer, or Safari browsers cannot be used in conjunction with the Data Archive Web application as they currently do not support full HTML5.
- The link to the Data Archive Web application: https://rds.unsw.edu.au.
- An active UNSW zID and zPass. To verify your zID/zPass visit the UNSW Identity management page.
Note: If you do not have them please contact your local IT support or the UNSW IT Service Centre (9385 1333) to get Chrome, Firefox or Edge installed on your workstation, when using a SOE (Standard Operating Environment) o, if you have administrator rights, you can download and install the browsers yourself.
Video: Navigating the Data Archive
Uploading data to the Data Archive
Video: Uploading data to the Data Archive:
Uploading a folder or file:
Note: do not use the browser navigation buttons when inside the Web application.
Note: you will need Lead Chief Investigator (LCI), Research Project Manager, or Contributor access rights to upload data to the Data Archive. See the How do I know what access level I have in the Data Archive? FAQ to find out your access rights for a project.
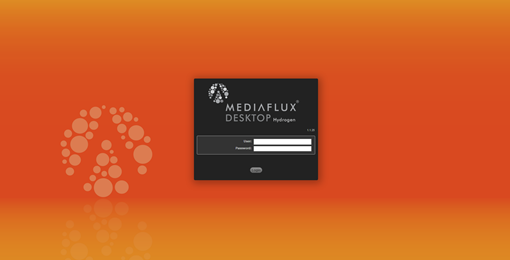
1. Access the Data Archive by opening a Chrome browser and entering the following URL: https://rds.unsw.edu.au. You’re now on the Data Archive login page.
2. At the login page, enter your UNSW zID (for User:) and zPass (for Password:) and click ‘Login'.
3. On the upper left side of the screen, you’ll see the Asset Finder icon.
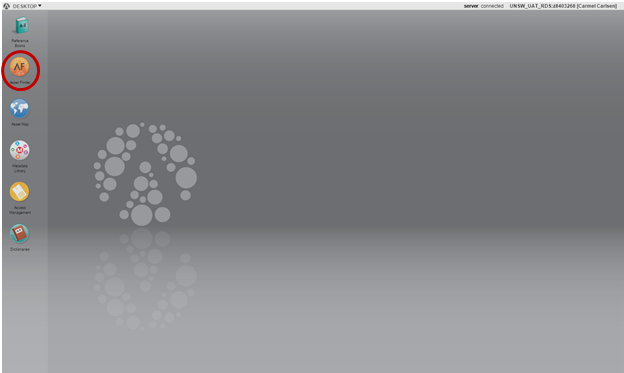
4. Double click on the Asset Finder icon to open. In the first pane you’ll see the following menu items:
- Home
- Collections
- Metadata
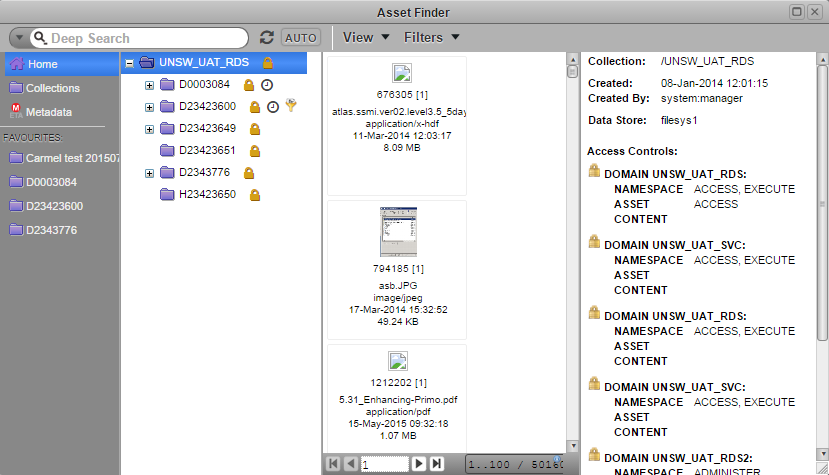
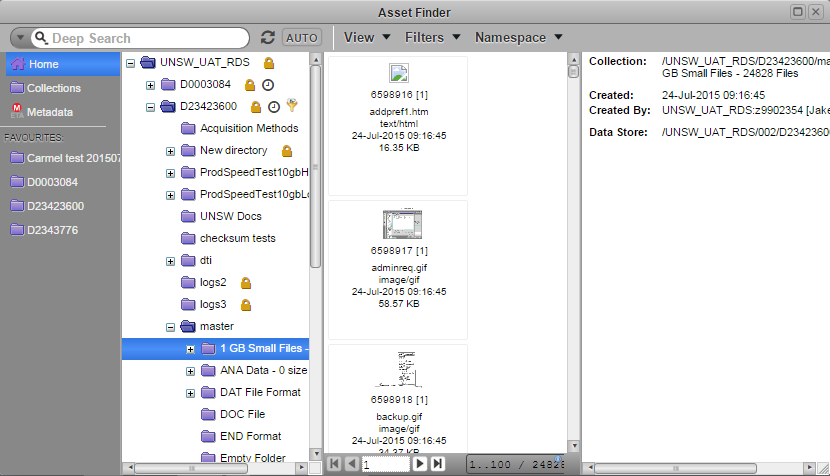
5. Double click on 'Collections' and navigate down through the 'Collections' folder structure in the second pane until you find the folder or sub-folder you want to upload your data to. Click on it to open it – this process can take a few minutes, so be patient!.
6. On your computer, navigate to the location from which you wish to extract the folder/file(s) and select the source files or folder (that is, files containing data from your local computer) you wish to upload.
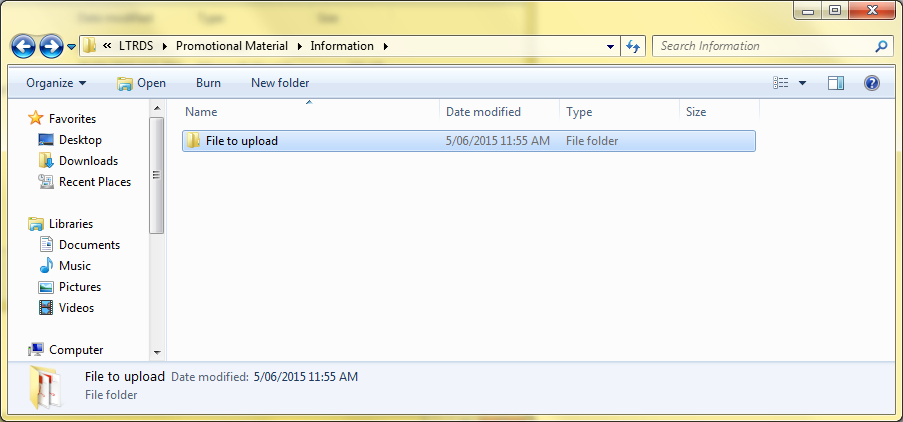
7. Drag the folder/file from the local location.
Example of folder drag:
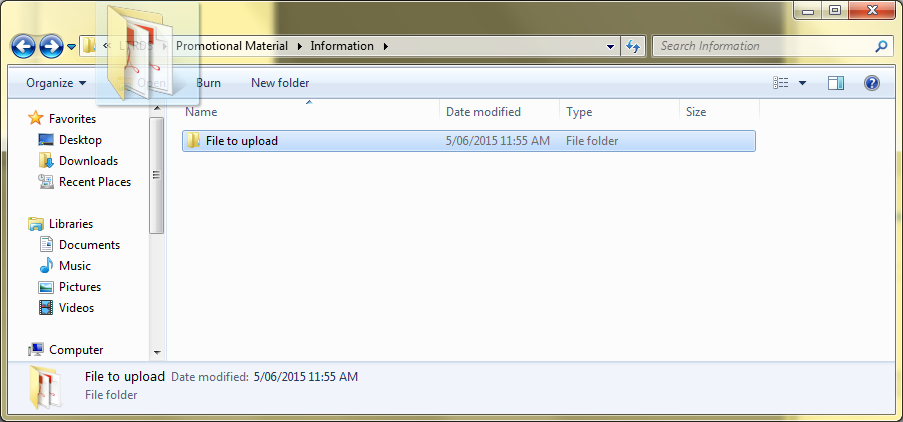
Example of file drag:

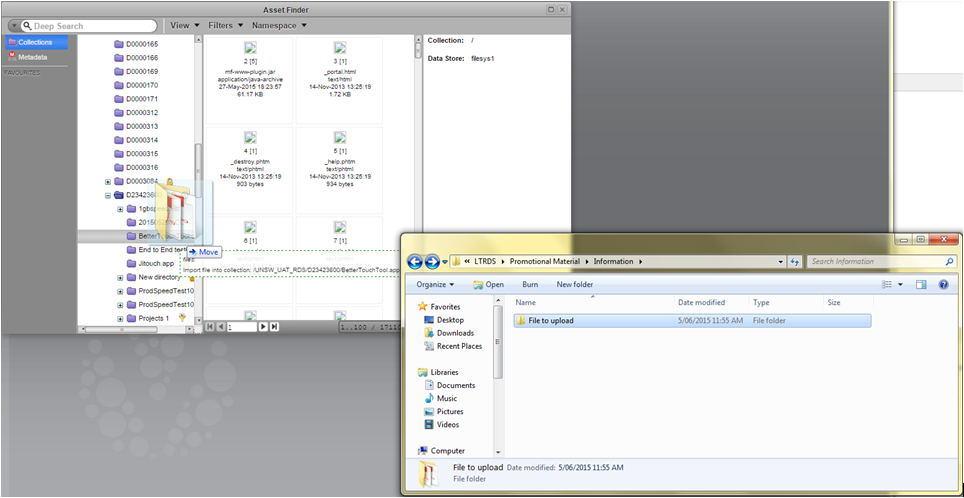
8. Drop your source folder/file(s) into the second pane of the designated 'Collections' location you wish to store it in. If you’re looking for a sub-folder within an existing ‘Collections’ folder, in the second pane, drag your source file/folder and hold them over the ‘Collections’ folder without releasing your mouse button. Your sub-folders will now appear and you can drop your source file/folder into your chosen destination.
9. A notification box will pop up on the screen. Click the ‘Import Files’ button on the bottom right hand side.
Note: if you wish to upload empty folders you will need to check the 'Import Empty Folders' check box.
![]()
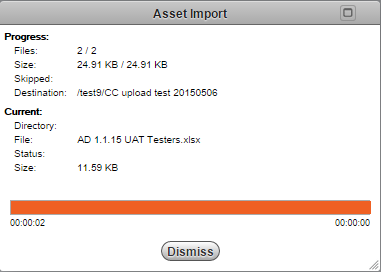
Your files are now being imported. You will see a progress bar on the screen in front of you that shows you how the import is progressing.

10. Once the folder/file(s) has been uploaded successfully, a ‘Dismiss’ button will appear on the notification box. Click the 'Dismiss' button to complete the upload process.
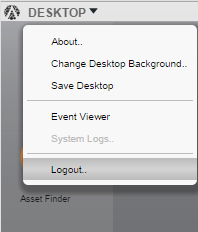
11. Finished using the Data Archive? Click ‘Desktop’ on the top left hand corner of the dashboard screen, and then click ‘Logout’.
Download data from the Data Archive
Important: You need to migrate your data online before you start to download, see our guide for how to do this.
Video: Downloading data from the Data Archive:
Downloading a folder or file:
Note: do not use the browser navigation buttons when inside the Web application.
1. Access the Data Archive by opening a Chrome browser and entering the following URL: https://rds.unsw.edu.au. You’re now on the Data Archive login page.
2. At the login page, enter your UNSW zID (for User:) and zPass (for Password:) and click ‘Login'.
3. On the upper left side of the screen, you’ll see the Asset Finder icon.
4. Double click on the Asset Finder icon to open. In the first pane you’ll see the following menu items:
- Home
- Collections
- Metadata
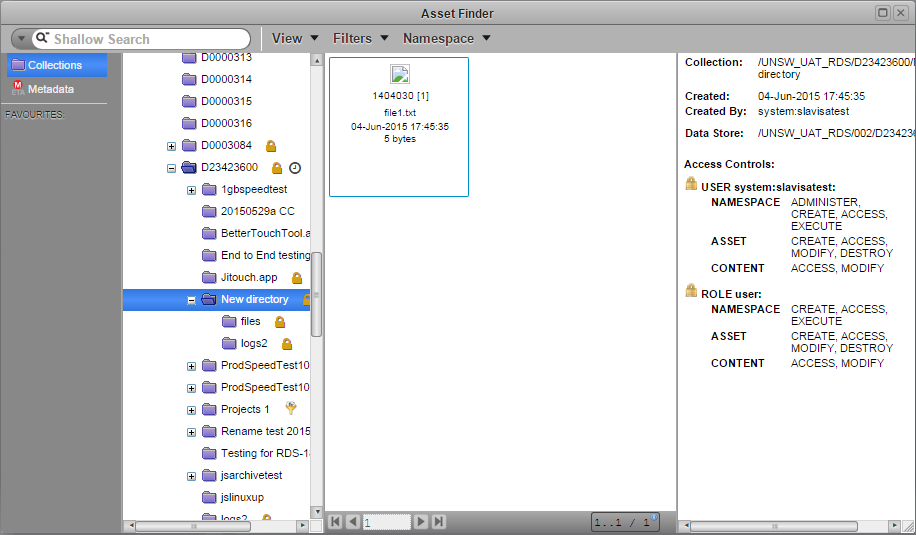
5. Double click on 'Collections' and navigate down through the 'Collections' folder structure in the second pane until you find the folder or sub-folder from which you wish to download your folder/file(s) (Note: folders are located in the second pane and files in the third pane). You can download individual files, multiple files or whole folders of content.
Note: to download a compressed folder, select 'Open' and the 'Save as' function will allow you to download the compressed file.
Note: to select multiple files, use the Shift key (rather than the Ctrl key) on your keyboard and click on each of the files you wish to include in the group.
Note: when downloading more than one file, the files will automatically be compressed (zipped by default).
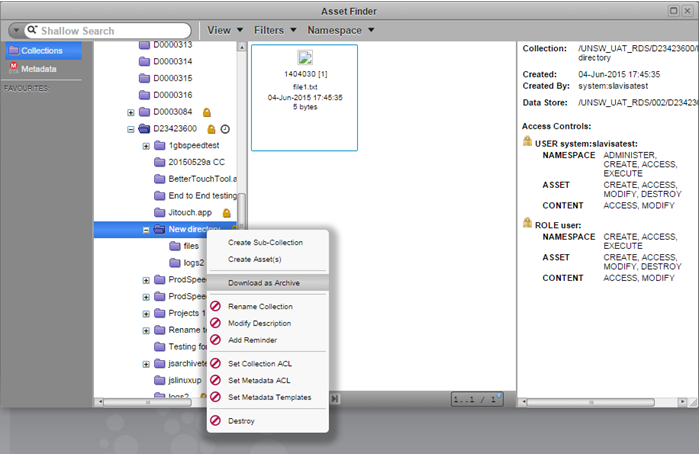
6. Right click on the folder/file(s) you wish to download and an action options list will appear.
Note: when downloading an individual file, you will need to right click on the individual file from inside the third pane (see image below).
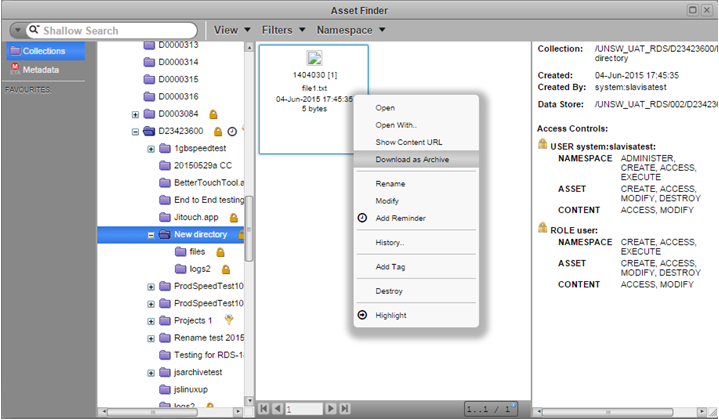
7. Click on 'Download as Archive' and the Download as Archive window will open.
Note: if you wish to download empty folders you will need to check the 'Include Empty Namespaces' check box.
![]()
8. Format: 'ZIP' will be selected by default, or select your preferred format: 'TAR', 'TAR.GZ', 'AAR', or 'EAAR', and click on the 'Download as Archive' button.
Note: the Chrome browser will display the folder/file you are downloading at the bottom left of the browser window. In the bottom right of the browser window will be a Show all downloads link.
Tip: You may like to decide where you will save the content that you download from the Data Archive (rather than allowing the Chrome browser to decide for you). To configure your Chrome browser so that you may decide where to download folders and files, see our Where did my downloaded file / folder go? FAQ.
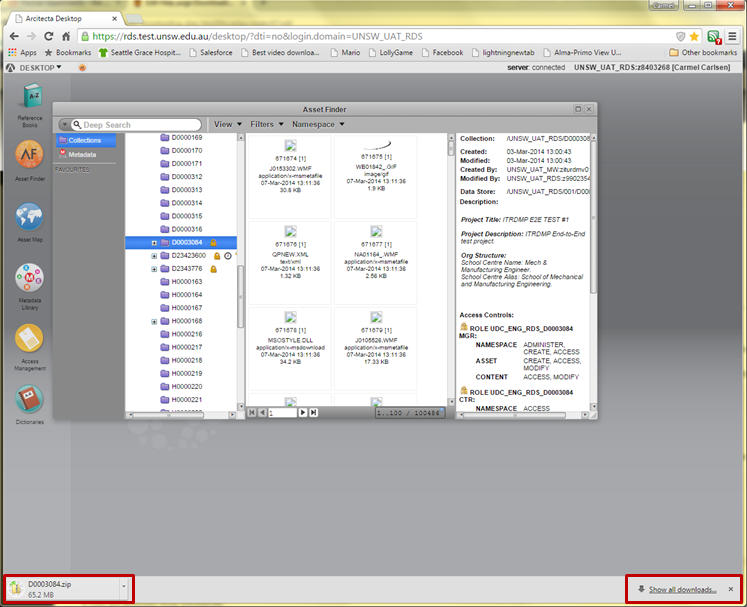
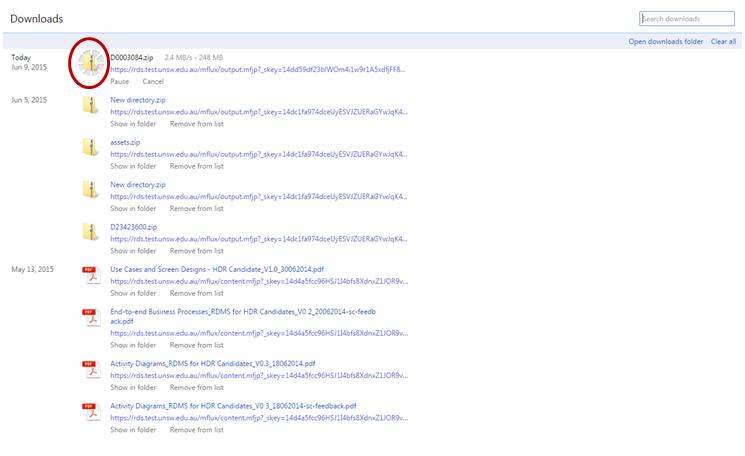
Note: you may view all of your downloads and check the progress of your current download by clicking on the Show all downloads link.
 and
and
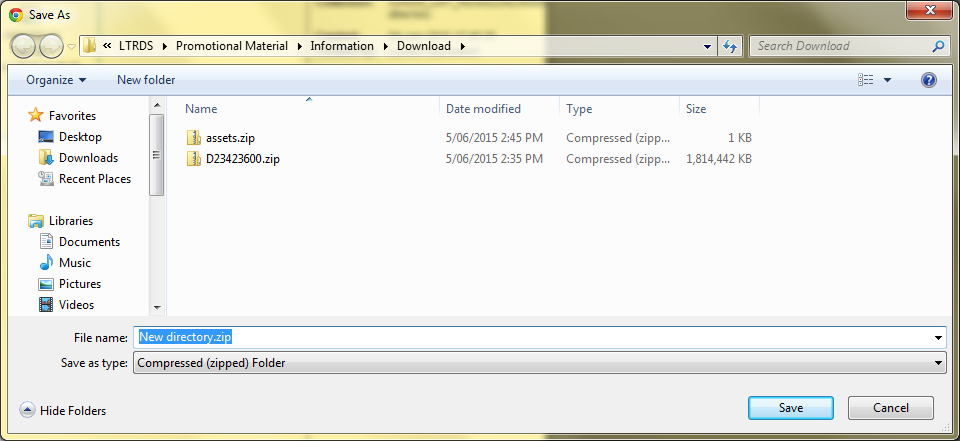
Note: if you have changed the Chrome default Download settings a Save As window will open on your computer (see Where did my downloaded file / folder go? FAQ for instructions on how to decide where the folders/files you download will be saved).
9. Save the compressed file to your local drive. Please be patient, this may take some time depending on the size of the folder/file you have downloaded.
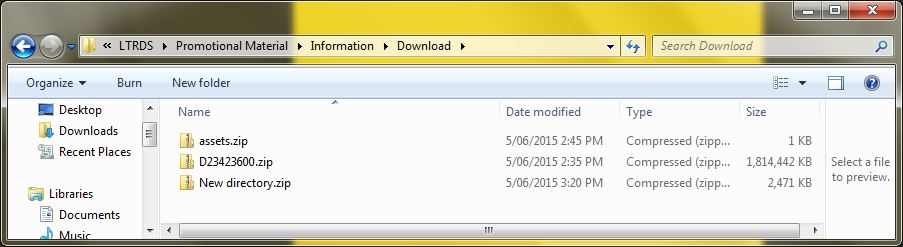
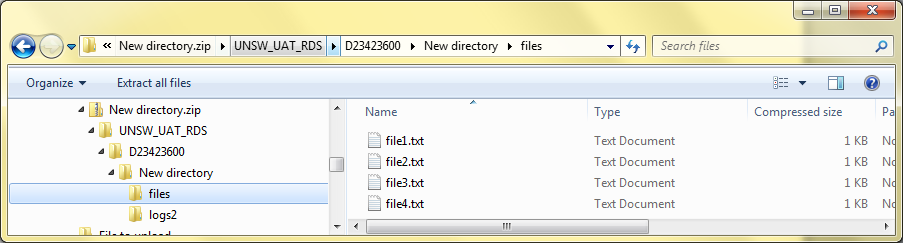
10. You can unzip a downloaded ZIP file by double clicking on the required download, displayed at the bottom of the browser OR at the location in which it was saved on your computer.
Note: if you have used another method to compress the file (TAR, TAR.GZ, AAR, EAAR) please undertake the steps required for that format to decompress.
Note: the entire Data Archive Collection (folder) structure (file path) will be saved in the zipped package you have downloaded.
11. Finished using the Data Archive? Click ‘Desktop’ on the top left hand corner of the dashboard screen, and then click ‘Logout’.
Help and further information:
- For help and support when using the Data Archive, see
- all Help Topics
- all Frequently Asked Questions (FAQs)
- browse through the carousel on the homepage to view all available videos
- For information on the types of data to add to the Data Archive, see Preparing data for upload
- For more information on the access levels in the Data archive, see Roles and access inside the Data Archive
- For information on finding data in the Data Archive, see Search, filters, view and favourites
- For information on metadata (descriptive data) automatically and manually added to your research data, see the Metadata guide
- For information on Chrome download settings, see the Where did my downloaded file/folder go? FAQ
- For information on the relationship between a Research Data Management Plan (RDMP) and the Data Archive, see RDMP and the Data Archive
- For information on submitting a RDMP, see
- To create, or update, a Research Data Management Plan (RDMP) go to the ResToolkit service
- For information on data management at UNSW, see the Research Data Management Toolkit
- To access the Data Archive Web application, use this link, or, go to the Home page for other access options
- Note: the Data Archive service is also available over SFTP, see the SFTP client guide for more information